> ## Documentation Index
> Fetch the complete documentation index at: https://docs.shaktistudio.ai/llms.txt
> Use this file to discover all available pages before exploring further.
# Deploy Fine-Tuned model
After training the model, you can deploy the LoRA Model with Shakti Studio.
To deploy your fine-tuned model, follow the detailed steps outlined below, which guide you through the process of optimizing, configuring, and completing the deployment to make your model ready for use.
### **Merge with Base Model**
Click on **Compile** to merge the LoRA adapter back into the base model, creating a fine-tuned model. This step will take you to the [**Add Model**](/model-suite/optimise-a-model) page. Follow the next steps to create an optimised version of the model ready to be deployed via the Shakti Studio Model Suite.
 ***
### **Optimize the Fine-Tuned Model**
While compiling the LoRA with the base model, you will have the option to optimize the model for deployment.
***
### **Enter Model Details**
Provide the name for your fine-tuned model.
***
### **Select Optimizing Infrastructure**
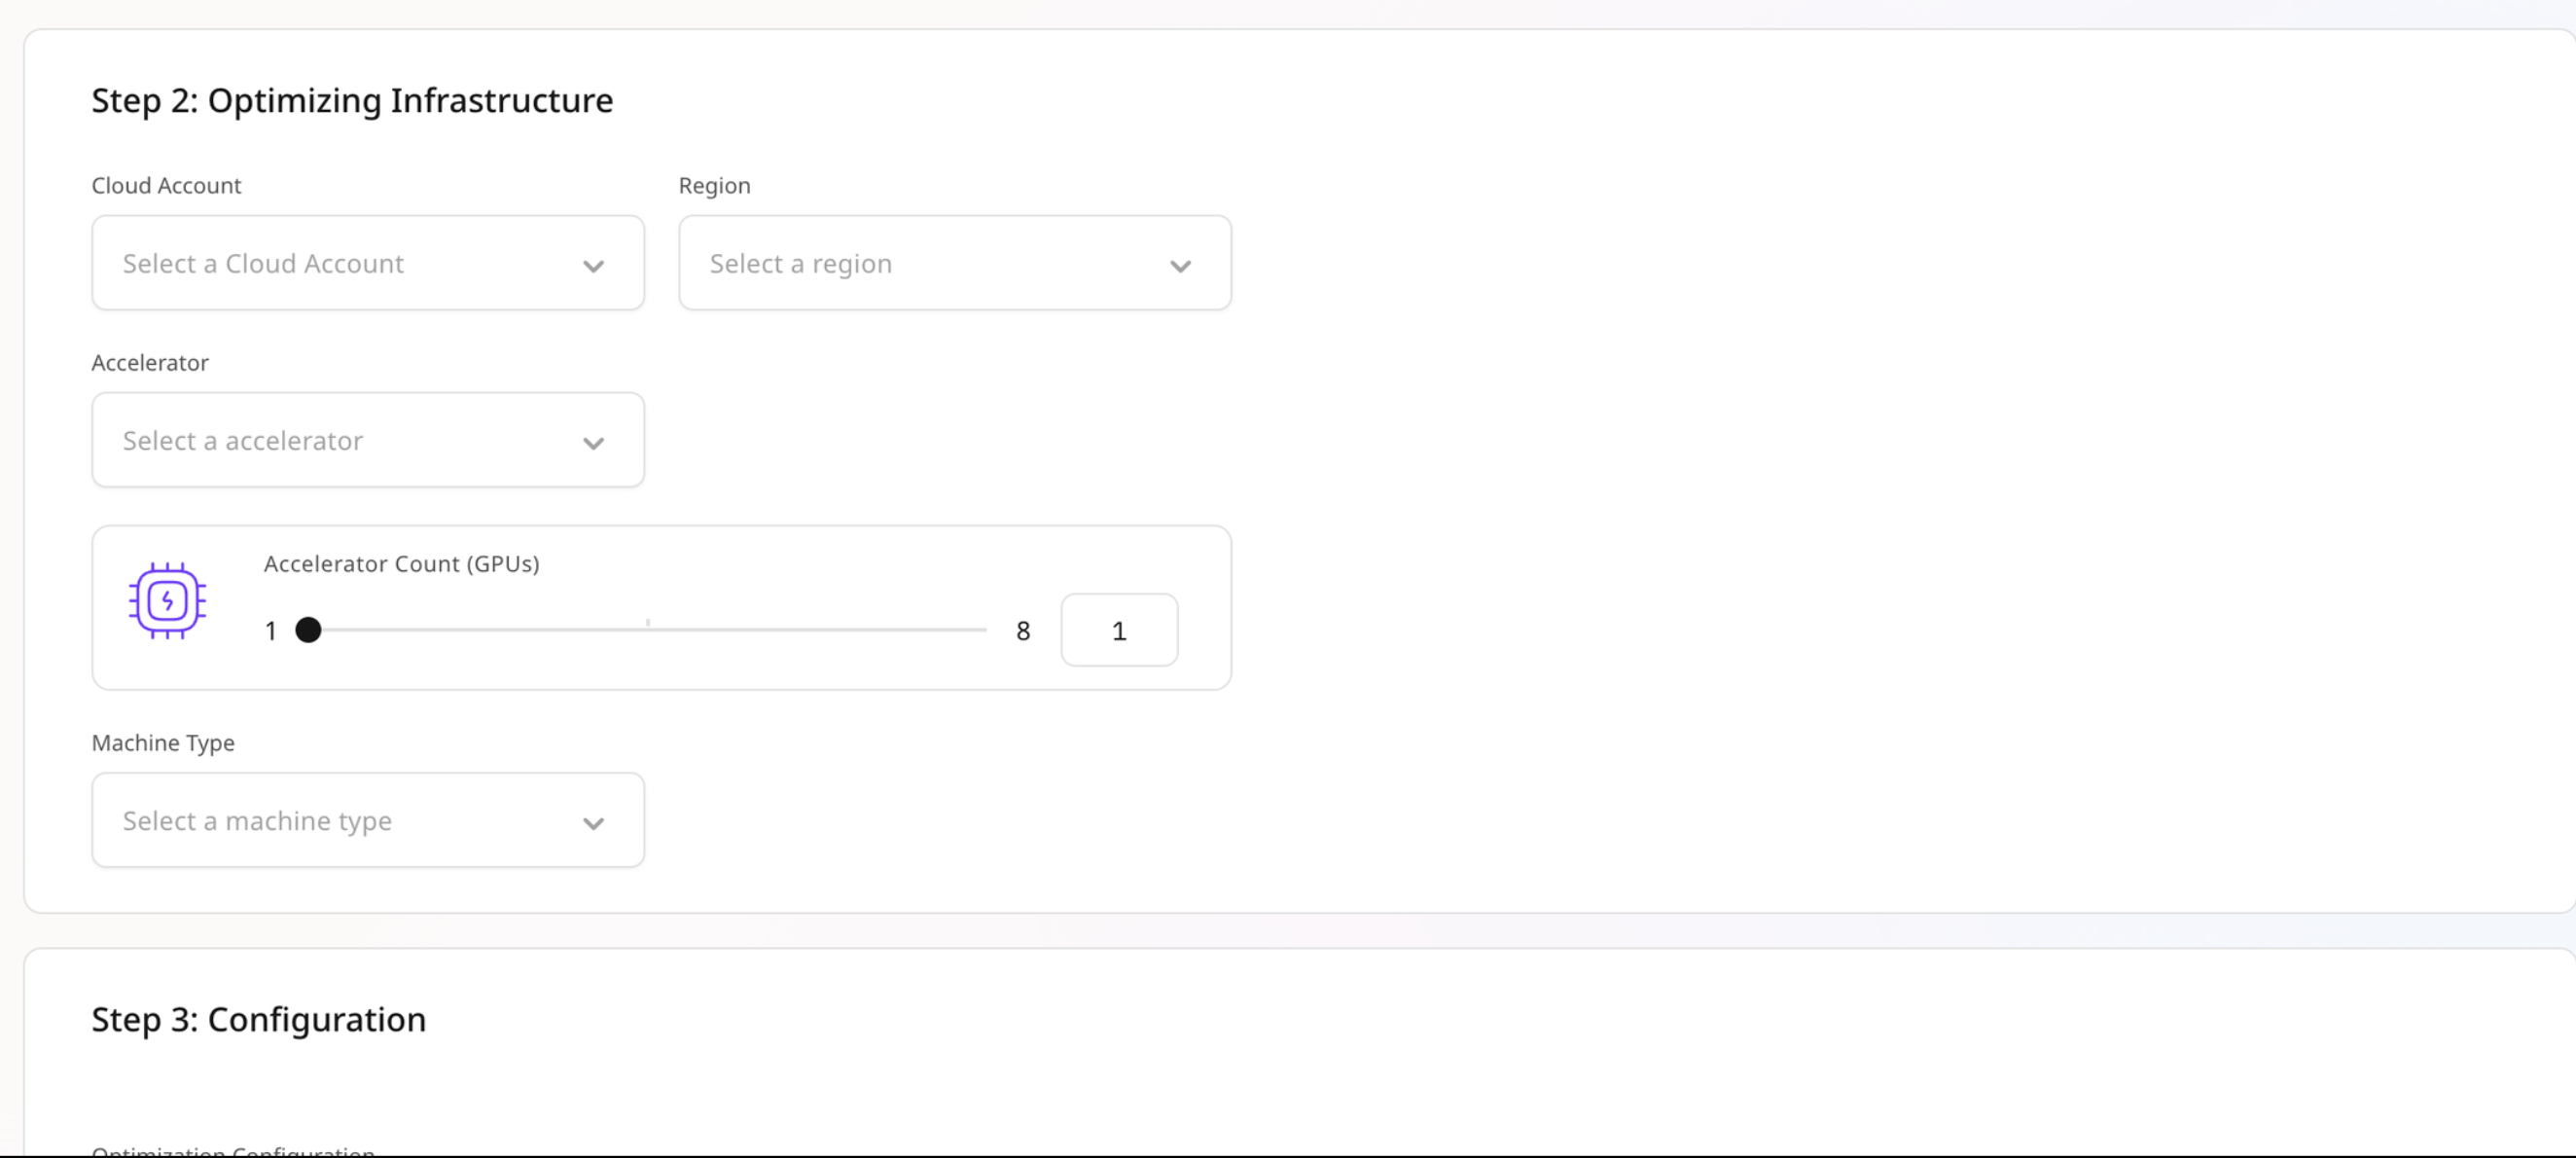
Choose the right optimization infrastructure for the model based on the size of the base model, specifically the GPU RAM required to run the model for a given quantization.
For example, a **Llama 3.1 8B** model can run on a **T4 GPU** with a **4-bit quantization** but may run into **CUDA OOM errors** with an **FP16 quantization**.
***
### **Optimize the Fine-Tuned Model**
While compiling the LoRA with the base model, you will have the option to optimize the model for deployment.
***
### **Enter Model Details**
Provide the name for your fine-tuned model.
***
### **Select Optimizing Infrastructure**
Choose the right optimization infrastructure for the model based on the size of the base model, specifically the GPU RAM required to run the model for a given quantization.
For example, a **Llama 3.1 8B** model can run on a **T4 GPU** with a **4-bit quantization** but may run into **CUDA OOM errors** with an **FP16 quantization**.
 ***
### **Update Optimization Configuration**
Modify the optimization settings as needed, and select the desired quantization for your optimised model. If unsure about the rest of the optimization configuration, leave it at the default values.
Please refrain from changing the **model configuration** in this step.
***
### **Add the Model**
Click **Add Model** to save your fine-tuned model to the [**My Models**](https://uat-infer.shakticloud.ai/my-models) section.
***
### **Deploy the Model**
Once the model has been successfully optimised and saved to your repository, you can deploy it via the **Shakti Studio Model Suite**. You can refer to the deployment steps [here](/model-suite/deployments/creating-a-deployment).
***
### **Update Optimization Configuration**
Modify the optimization settings as needed, and select the desired quantization for your optimised model. If unsure about the rest of the optimization configuration, leave it at the default values.
Please refrain from changing the **model configuration** in this step.
***
### **Add the Model**
Click **Add Model** to save your fine-tuned model to the [**My Models**](https://uat-infer.shakticloud.ai/my-models) section.
***
### **Deploy the Model**
Once the model has been successfully optimised and saved to your repository, you can deploy it via the **Shakti Studio Model Suite**. You can refer to the deployment steps [here](/model-suite/deployments/creating-a-deployment).