Overview
This guide walks you through the process of creating a new organisation profile contact and enabling them as a portal user within Shakti Studio.1. Login into Shakti Studio
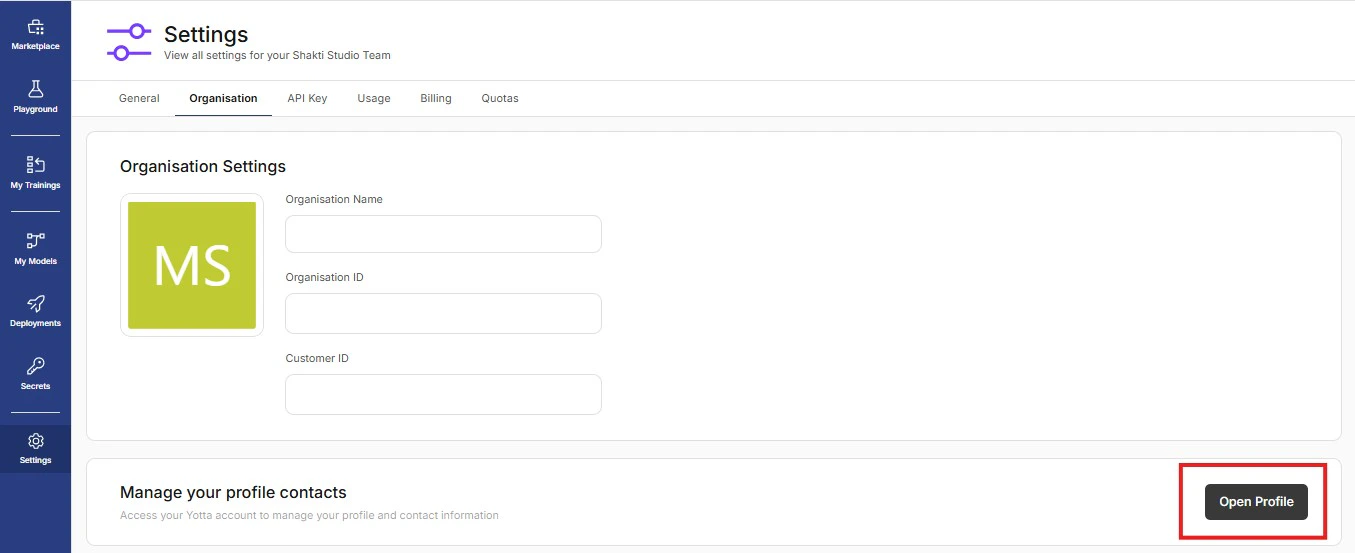
- Navigate to Settings → Organisation
- Scroll down to Manage your profile’s contact
- Click on Open Profile
2. Open Contact Section
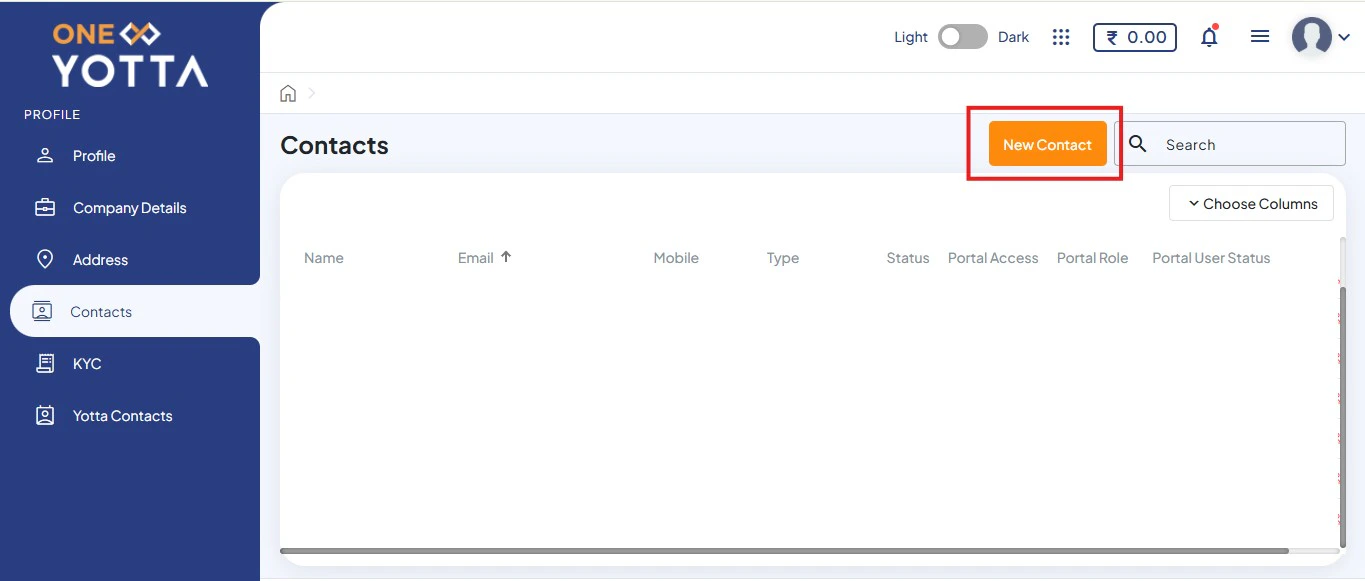
- Once redirected, the One Yotta portal will open
- Navigate to the Contact section
- Click on New Contact
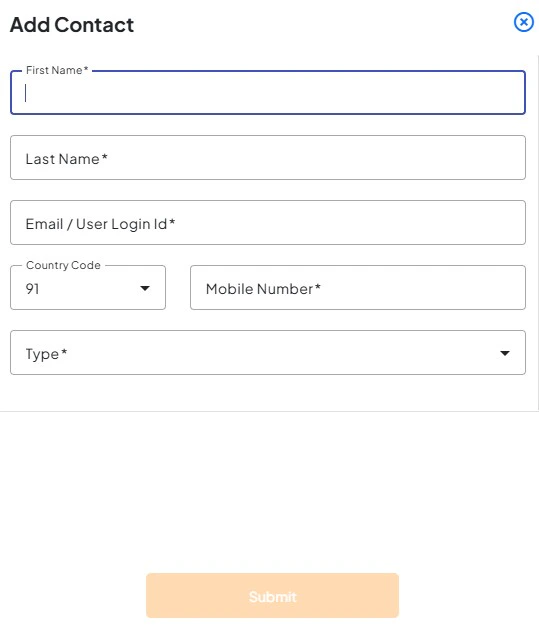
3. Add Contact Details
- Enter the required contact details
- Click on Submit
- The newly added contact email ID will receive an onboarding email from
noreply@yotta.com - Complete OTP verification and credential setup
- Use the same credentials to log in to Shakti Studio
4. Verify Contact Creation
- After submission, the new contact will appear in the contact list
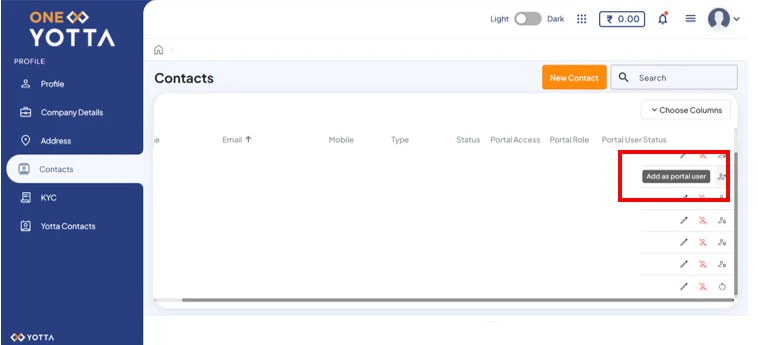
5. Enable as Portal User
- Scroll to the extreme right of the contact row
- Click on the Add as a portal user icon
- Select the desired portal user option
After completing these steps:
- A new organization contact is created
- The contact is successfully enabled as a portal user
- Ensure correct details are entered while creating the contact\
- Portal user access can be modified later if required