Prerequisites
- A Shakti Studio account (Sign up if you haven’t already)
- Basic familiarity with the Shakti Studio UI
Deployment Process
Select a Model
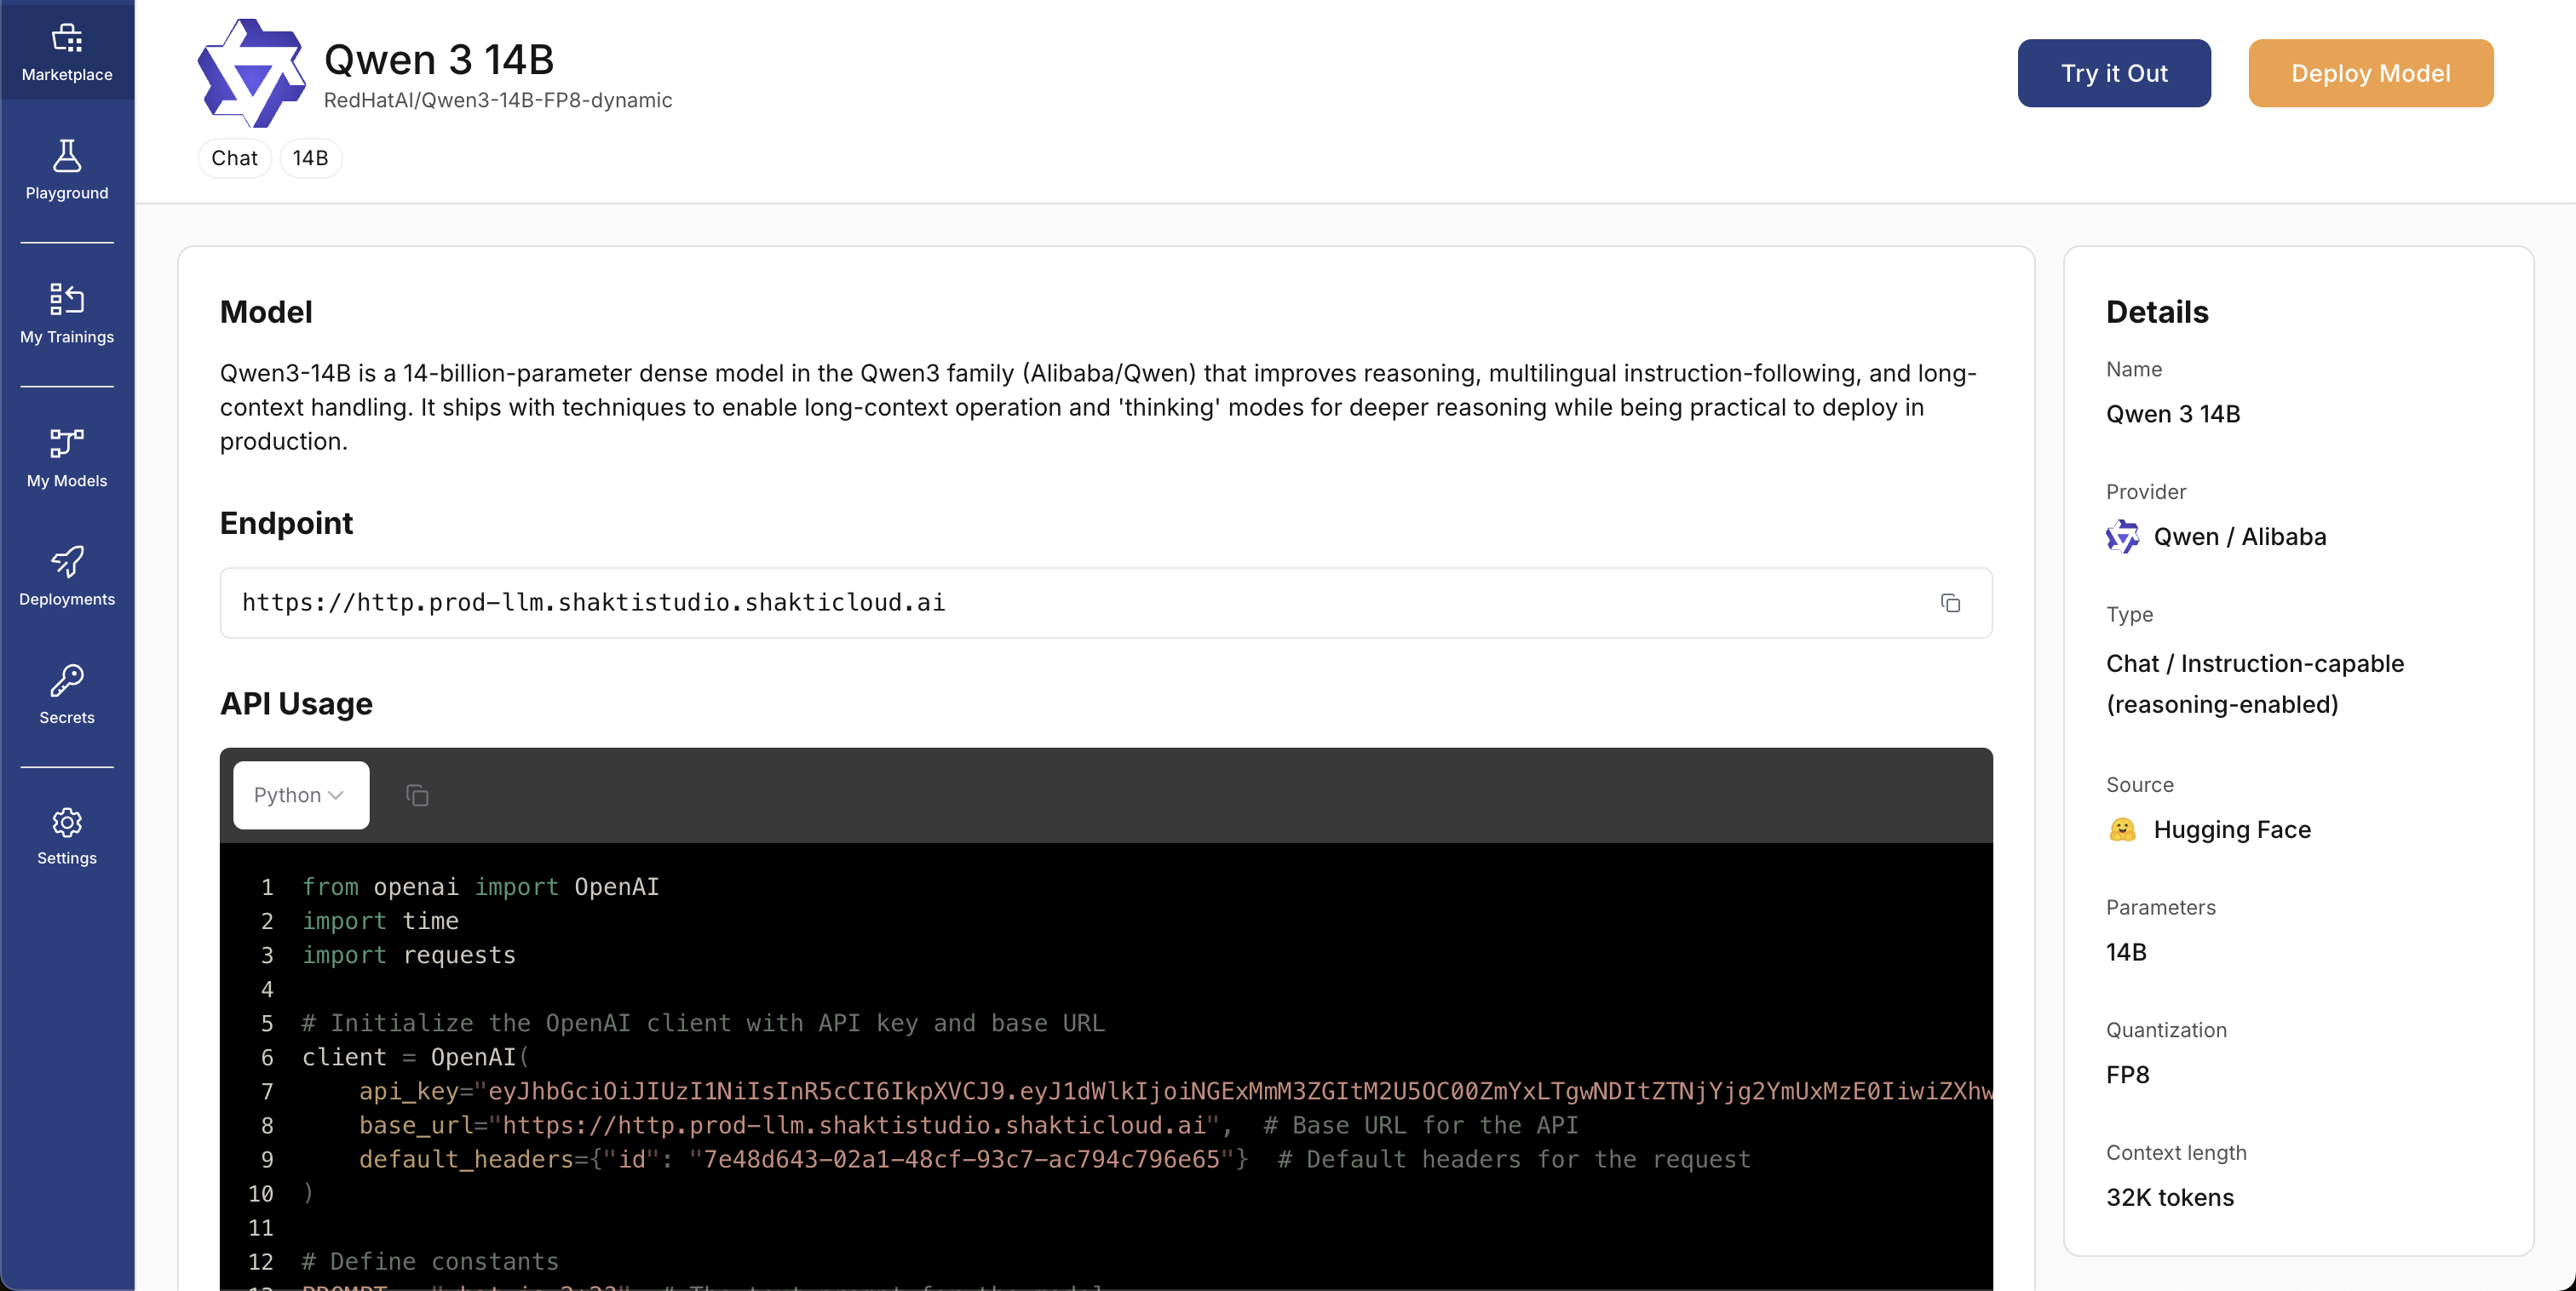
- In the left sidebar, open Marketplace
- Search for Qwen 3 14B in the search bar
- Open the model card to view details
- Click Deploy to start the deployment flow
Configure Model Settings
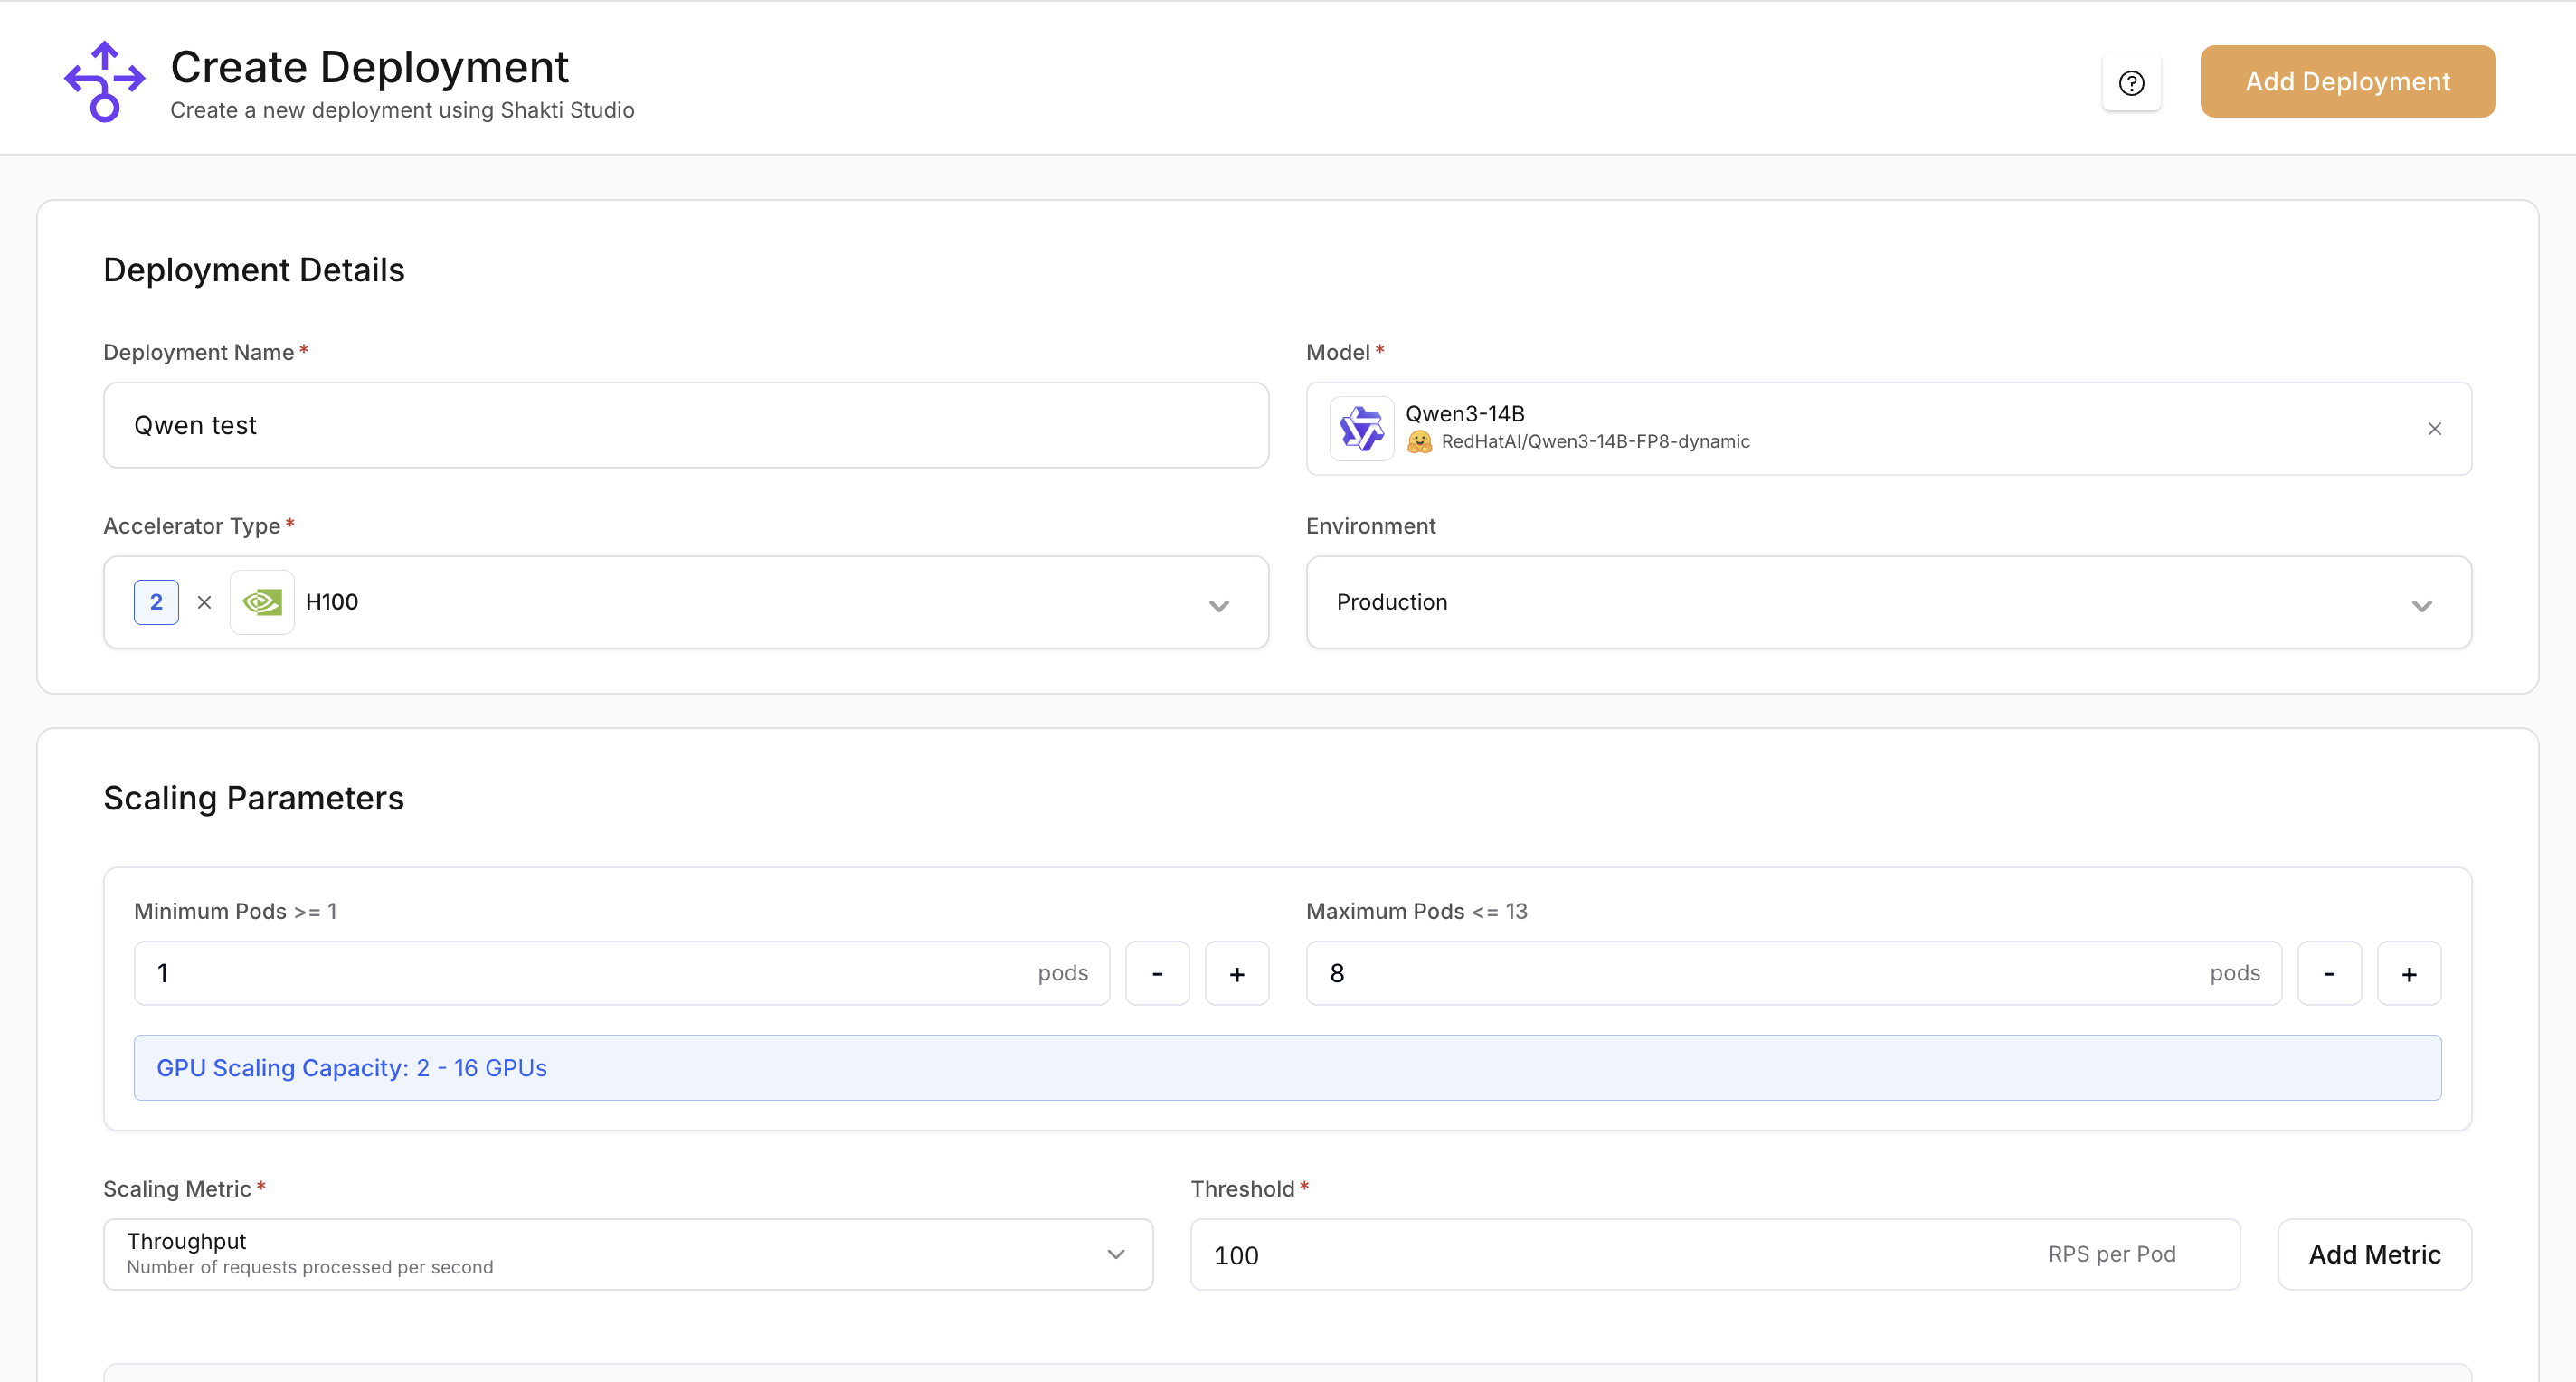
- Deployment Name: A unique, descriptive name (e.g.
qwen-3-14b-h100) - Model: Confirm Qwen 3 14B is selected in the dropdown
- Accelerator type: Choose a GPU (e.g. H100)
- Environment: Choose Production or Testing
- Minimum Pods: Number of replicas that stay running
- Maximum Pods: Upper limit for replicas when scaling up
Set Up Auto-Scaling
- In the Scaling section, confirm the default CPU Utilization metric (already configured).
- Click Add Metric to add another metric.
- Add GPU Utilization and set the target to 80% so the deployment scales up when GPU usage reaches 80%.
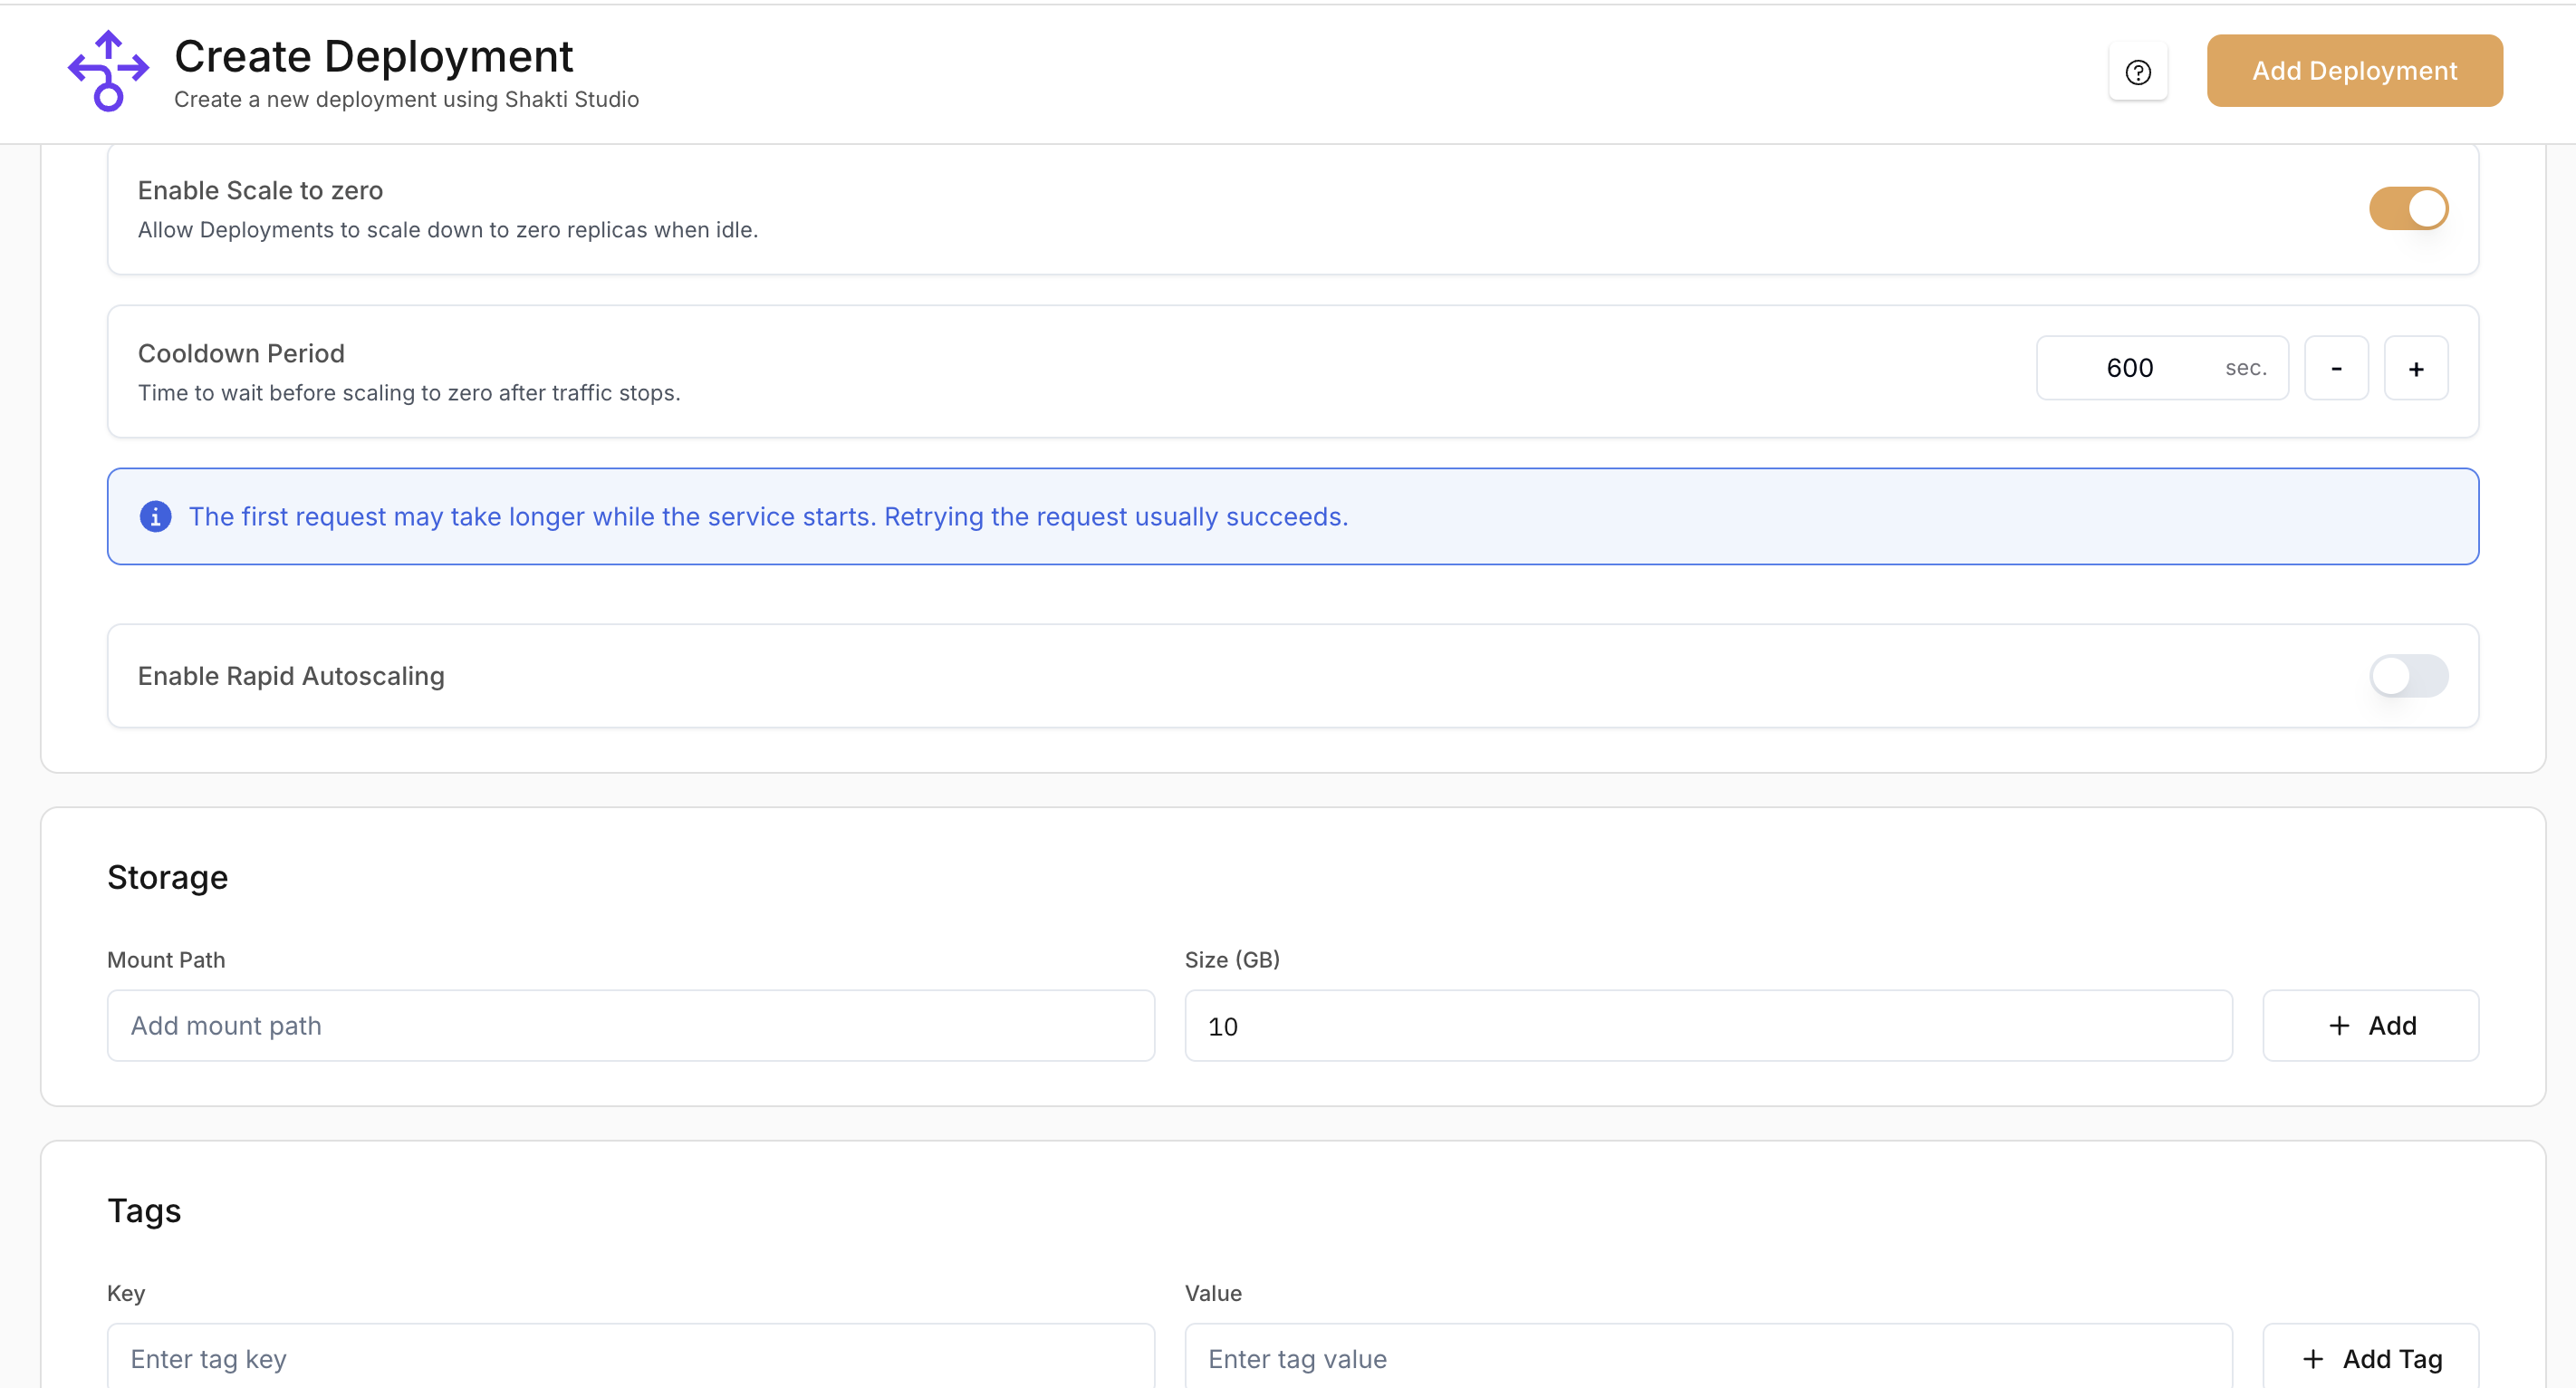
Add Storage Information
Configure storage only if your NIM container needs local persistent storage:
- Mount Path: Enter the path where storage will be mounted in the container
- Size: Specify the volume size in GB
Add Tags
Add key-value tags to organize and identify deployments. Use tags for:
- Cost tracking: attribute spend to projects or teams
- Environment: e.g.
env: productionorenv: staging - Ownership: team or owner
- Category: internal classification
Deploy the Model
- Review your configuration
- Click Deploy in the top-right corner
- In the confirmation dialog, review the deployment details
- Click Confirm to start the deployment
For more options and detail, see the Model Deployment Guide.
Test Your Deployment
Test the model via the API:
- Open the API tab on the deployment details page
- Choose cURL from the language dropdown
- Copy the snippet and replace:
YOUR-ENDPOINT-HEREwith your endpoint URL (from the Details tab)YOUR_API_KEYwith your API key in theAuthorizationheader
- Run the command
Clean Up Resources
When you finish testing, delete the deployment to avoid ongoing charges:
- Open Deployments in the left sidebar
- Select your deployment
- Open the three-dots menu (top-right) and choose Delete
- Enter the deployment name when prompted, then confirm Delete
Deleting the deployment frees GPU capacity and stops billing for that deployment.
Understanding Your Deployment
Your deployment exposes an OpenAI-compatible API endpoint. You can use it with any client that supports the OpenAI API. The endpoint supports:- Text (and image inputs for multimodal models)
- Streaming and non-streaming responses
- Standard parameters such as
temperatureandmax_tokens
Monitoring and Management
After deployment, you can:Monitor Performance
Track usage, latency, and throughput in the Monitoring tab
Adjust Resources
Scale the deployment up or down from the deployment details page
View Logs
Use logs to debug and troubleshoot issues
Manage API Keys
Create and revoke API keys for secure access
Next Steps
Now that you’ve successfully deployed your first model, consider these next steps:Fine-tune Your Model
Fine-tune the model on your data for your use case
Optimize Performance
Improve latency, throughput, and cost with our optimization guide